
Mastering at Home 101: Practical Strategies that Just Works.
Most people mastering at home are not working in a $500,000 purpose-built mastering studio. Instead, they are navigating a listening environment shaped by compromise—limited space, shared rooms, imperfect acoustics, and equipment that must serve multiple roles.
For many, mixing and mastering happen in the same room, often on the same system. In some cases, the same person is producing, mixing, and mastering their own music. That reality fundamentally shapes how mastering must be approached.
The strategies discussed here are designed to help reconcile those challenges—not eliminate them, but understand them and work productively within their limits.
Everything you’re hearing is filtered through the strengths and weaknesses of your environment.
In many home studios, headphones may be the most accurate monitoring tool available, raising important questions:
- Are speakers still useful if they aren’t ideal?
- How should headphones and speakers be used together?
- How do you maintain perspective when your monitoring isn’t perfect?
The Core Challenge: Mastering Your Own Mixes
One of the biggest difficulties in home mastering is mastering material you’ve already spent countless hours shaping.
You’ve written the music.
You’ve arranged it.
You’ve recorded it.
You’ve mixed it—responding carefully to what you hear in your space.
Every sound exists for a reason, based on deliberate decisions. Then mastering arrives and presents an uncomfortable question:
“I’ve already done the best I can—why would I change this now?”
That tension is real, and it can derail the mastering process if not addressed with the right mindset.
What Mastering Actually Is—and Is Not
One of the most important lines of defense is simply understanding what mastering is at its core.
Mastering is not the stage where major creative decisions happen. It is not rewriting the music. It is not rebuilding the mix.
At its foundation, mastering involves:
- Small, subtle tonal adjustments
- Fine dynamic shaping
- Careful level optimization
- Translation from artistic intent to end-user experience
Mastering is about doing as much as necessary—and as little as possible.
These subtle changes can have a real, audible impact, but when done carefully, they preserve the fidelity, structure, and intent of the original production.
When you internalize this, you avoid the trap of thinking:
“I have to change everything all over again.”
You don’t.
References: Powerful Tools—If They’re High Quality
References are often discussed as a way to understand:
- Genre expectations
- Tonal balance
- Overall level
In the context of home mastering, references become even more critical—but only if they are the right kind.
The Problem with Lossy References
If you are comparing your master to audio that has been converted to:
- MP3
- AAC
- OGG (common on streaming platforms)
…you are comparing against audio that has already lost fidelity.
The degradation may be small, but it is real.
A lossy file can sound:
- Thin
- Hashy
- Slightly gauzy
If you chase those qualities and then export your own lossless master, and that later gets converted to a lossy format, the degradation happens twice.
This creates a compound problem.
Building a Reliable Reference Library
The solution is straightforward, and it doesn’t require rebuilding your entire music collection.
Focus on:
- Five to ten trusted reference tracks
- Purchased in lossless formats
- Stored locally on your hard drive
Advantages include:
- No loudness normalization
- No streaming playback adjustments
- Exact levels as delivered by the mastering engineer
You are comparing against audio as close as possible to what came off the mastering desk.
Where to Find High-Quality References
Some practical strategies:
- Explore the GRAMMY “Best Engineered Album” nominees (classical and non-classical)
- Research lists like “great sounding records” within specific genres
- Curate and organize references by genre and sub-genre
Maintaining a dedicated reference folder—accessible at all times—can be invaluable.
Monitoring Limitations and Objective Tools
When you mix and master in the same environment, any inaccuracies in that environment are imprinted twice.
That makes it difficult to hear what’s truly wrong just by listening.
This is where objective tools become essential.
Using Measurement to Maintain Perspective
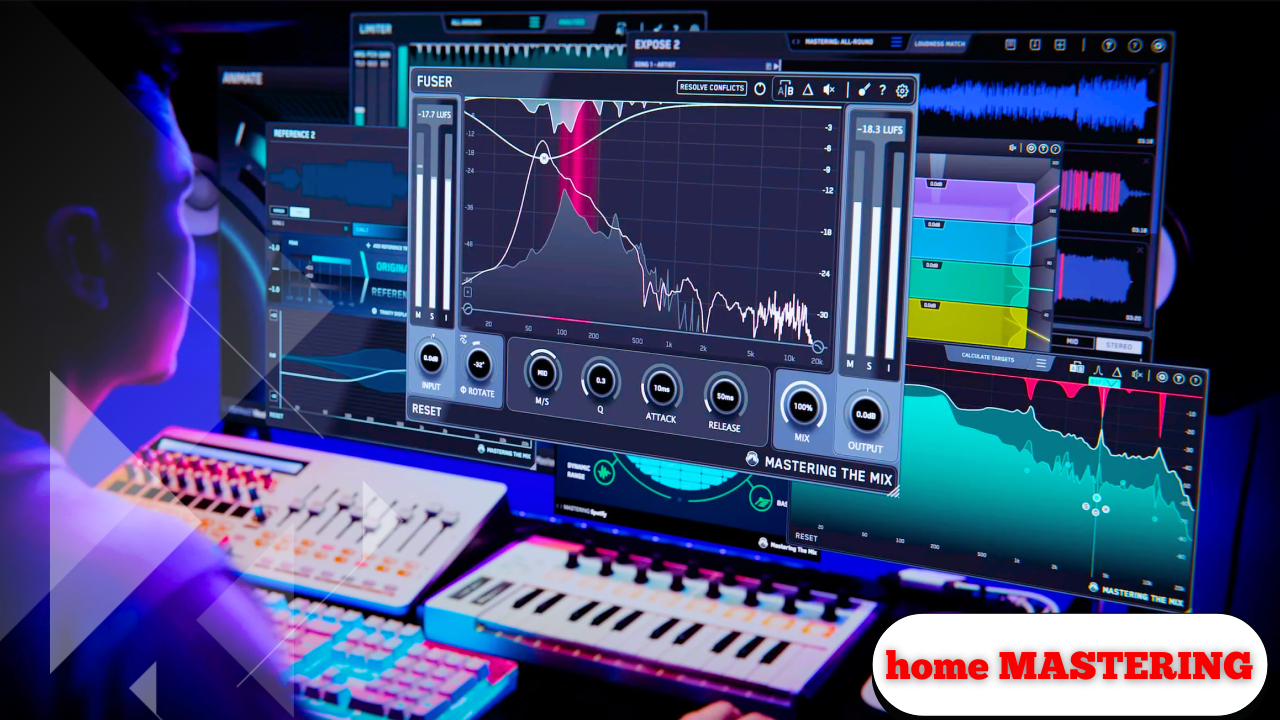
Tools such as:
- Tonal Balance Control
- LUFS meters
- Spectrum and level analyzers
…help prevent compounding errors.
They can:
- Reveal when your work falls far outside expected ranges
- Offer insight into how your environment may be misleading you
- Guide subtle EQ decisions during mastering
They don’t replace listening—but they keep you from going further down the wrong path.
Headphones vs. Speakers: Complementary Perspectives
Headphones can be a powerful solution when room acoustics are limited. However, they introduce their own challenges.
Key perceptual differences include:
- No acoustic crosstalk between ears
- Different stereo imaging
- Altered perception of depth and reverb
- Skewed balance between low, mid, and high frequencies
Even with crossfeed simulation software, headphones cannot fully replicate listening to speakers in air. Human physiology—how sound interacts with the head and ears—plays a role that technology can’t completely overcome.
Why Speakers Still Matter
Even imperfect speakers can reveal things headphones may hide:
- Excessive stereo width
- Imbalances between bass, mids, and treble
- Recessed midrange elements like vocals
A quick speaker check can expose problems that feel invisible on headphones.
Evaluating Speakers for Mastering Use
Mastering places particular demands on playback systems.
Low-Frequency Audibility Matters
Being able to hear very low-frequency content is essential for:
- Identifying plosives and rumble
- Detecting hum or subsonic buildup
- Understanding limiter behavior
- Evaluating interactions between bass-heavy elements (e.g., 808s and kicks)
Small speakers with single 6.5-inch drivers often roll off around 70–80 Hz, removing up to two full octaves of information.
Subwoofers as a Practical Solution
Adding a subwoofer can:
- Extend low-frequency monitoring
- Be more economical than large speakers
- Fit better in small rooms
However, proper setup is critical:
- Phase alignment
- Level matching
- Crossover integration
When done carefully, subwoofers can dramatically improve low-end accuracy.
Speaker Design and Room Interaction
Most modern speakers sound excellent in anechoic chambers. Once placed in a real room, the room becomes part of the system.
If a speaker sounds odd:
- It may be the room—not the speaker
- Placement and treatment can dramatically change performance
Judging speakers in showrooms or untreated spaces often gives misleading impressions.
Incremental Improvement: A Long-Term Approach
Home studios evolve over time.
Early setups often involve:
- Compromised rooms
- Modest speakers
- Limited acoustic control
As skills improve, limitations become more apparent—especially in:
- Low-end clarity
- High-frequency nuance
That awareness becomes the motivation to upgrade, piece by piece.
Improving your environment is a journey—not a single purchase.
Foundational Setup Principles
Several low-cost or no-cost adjustments can significantly improve monitoring accuracy:
- Equilateral triangle between speakers and listening position
- Minimized reflective surfaces in front of you
- Speakers off the desk to reduce comb filtering
- Tweeters aimed directly at ear level
Behind the listening position:
- Avoid flat reflective surfaces
- Use diffusion to scatter reflections
A simple bookcase filled with unevenly placed books can serve as effective diffusion.
Digital Room Correction (DRC): Benefits and Limits
Digital Room Correction tools analyze room reflections and apply corrective processing.
They can:
- Improve frequency balance
- Align time-domain behavior
- Enhance clarity at the listening position
However:
- They cannot defeat physics
- They cannot fix excessive room reverb
- Overcorrection introduces its own artifacts
DRC improves accuracy—it does not create perfection.
DRC also narrows the sweet spot. As you move away from the calibrated position, the sound may actually worsen.
Acoustic Reality Still Matters
Some problems require physical solutions:
- Excessive reverb needs absorption
- Echo requires diffusion or damping
- Bare rooms benefit from carpets, furniture, and panels
The ideal reverberation time for critical listening is roughly 0.3 seconds, depending on room size.
Too much or too little reverb both interfere with perception—whether for singers tracking vocals or engineers evaluating clarity.
Alternative Translation Strategies
In highly tuned mastering rooms, engineers can trust what they hear. In home environments, additional strategies help compensate.
Effective approaches include:
- Listening on phones
- Checking mixes in cars
- Playing masters on different speaker systems
- Getting unbiased feedback from friends
When asking others to listen:
- Don’t coach them
- Don’t frame expectations
- Let them describe what they hear
Comments like “it sounds thin” or “I can’t hear the vocal” can be extremely revealing.
Knowing When to Stop
One advantage professional mastering engineers have is a deadline and a budget.
When working on your own material, those boundaries disappear.
A practical guideline:
If you can make it sound different, but not better—stop.
At that point:
- Put it away
- Release it
- Move on
Even at the highest levels of the craft, there is always a lingering sense that something might have been slightly better. Learning to let go is part of the process.
Navigating Where You Are
Every home studio is different.
Some are highly refined.
Some are just beginning.
The challenges shift depending on where you are in that journey, but the underlying principles remain the same:
- Maintain perspective
- Work within constraints
- Improve incrementally
- Use tools intelligently
- Trust process over perfection