
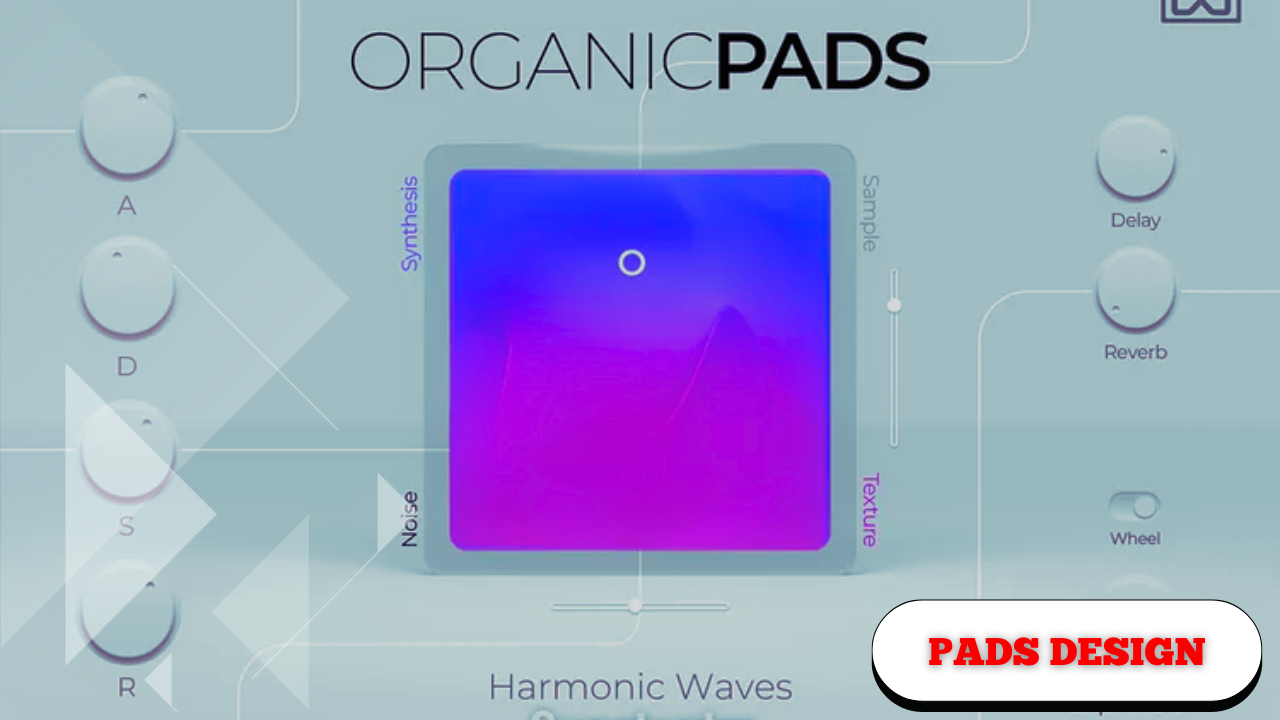
Crash Course on Ambient and Organic Pad Sound Design
Ambient and organic pad sounds often feel lush, wide, and effortless when heard in a finished track. But behind that smooth, almost heavenly result is a very deliberate process built on contrast, movement, and restraint.
At the core of this approach is a simple idea:
Pads rarely start smooth — they become smooth through filtering, space, and time.
What follows is a detailed breakdown of how to construct several types of ambient and organic pad sounds, moving step by step through synthesis, modulation, filtering, spatial effects, and performance considerations. The same principles apply whether you’re working in a wavetable synth, a subtractive synth, or even with recorded instruments.
Understanding the Core Pad Philosophy
Most ambient pads share a common foundation:
- They start rich, bright, or even buzzy
- They are filtered down to remove excess energy
- They are expanded with reverb, delay, and width
- They fade in and out gently, avoiding sharp edges
This contrast between an energetic source and a softened result is what gives pads their depth and emotional weight.
Building a Smooth, Lush Synth Pad
Start with a Full-Bodied Source
Even though the end goal is smoothness, it’s important to begin with a sound that has plenty of harmonic content.
- Bright waveforms work best
- Saw waves and complex wavetable shapes are ideal
- The sound should feel exciting before it’s refined
This gives you more expressive control later when filtering and automating.
Shape the Amplitude First
Before choosing a waveform, set a musical envelope:
- Attack: ~400–500 ms
- Release: ~400–500 ms
This immediately removes harsh starts and stops, making the sound more playable and pleasant. These values should always be adjusted to suit the tempo and feel of the track.
Use Unison for Width and Density
Unison voices are essential for pad thickness.
- Use odd numbers: 5, 7, or 9 voices
- An odd count creates:
- One stable center voice
- Symmetrical voices spread left and right
Going above 9 voices often becomes CPU-heavy, while fewer than 5 can feel thin.
With just this change, the sound already begins to feel wide and immersive.
Choose a Characterful Wavetable
A classic saw wave works beautifully, but exploring wavetable options adds personality.
One effective approach is using analog-inspired PWM-style waveforms, which introduce natural complexity and texture. These waveforms often feel more alive and less static.
Take time to scroll through multiple options — sometimes the most unexpected choice becomes the most inspiring.
Introduce Gentle Movement with Modulation
Static pads can feel lifeless. Subtle motion keeps them engaging without drawing attention.
Two simple techniques:
- Wavetable Position Modulation
- Slowly sweep through the wavetable
- Use an envelope or LFO
- Keep the movement subtle
- Fine-Tune Drift
- Apply an LFO to pitch fine-tune
- Reduce the modulation depth significantly
- Slow rates simulate analog oscillator drift
This slight instability adds warmth and realism.
Filtering: Where Smoothness Is Created
Filtering is the critical transformation step.
- Use a low-pass filter (12 dB or 18 dB slopes work well)
- Gradually reduce high frequencies
- Compensate with gain if needed
Filtering isn’t just tone shaping — it’s expressive control.
Using a synth filter instead of a static EQ makes it easy to automate cutoff changes, allowing the pad to evolve dynamically throughout a track.
Starting with a bright source ensures there’s something meaningful to filter away.
Creating Space with Reverb and Width
Once the tone is smooth, space becomes the priority.
Reverb Strategy
- Large reverb size
- High mix level
- Low-cut to prevent muddy buildup
Reverb creates depth, but too much low-end reverb quickly overwhelms a mix.
Layering multiple reverbs — one inside the synth and another on the mixer — adds dimension without sounding obvious.
Stereo Imaging for Presence
Heavy reverb often pushes sounds far away in the soundstage.
A stereo imager can help:
- Pull the pad back toward the listener
- Wrap the sound around the ears
- Restore presence without reducing space
Turning the imager on and off reveals how dramatically it affects perceived distance.
Designing a Rough, Organic Pad
Not all pads need to feel heavenly. Some benefit from instability and edge.
Even-Numbered Unison for Instability
Using even unison counts (such as 4 voices):
- Removes the central anchor
- Introduces subtle phase-like interactions
- Creates a slightly “wrong” feeling
This instability is often described as organic or analog.
Switching between 3 and 4 voices clearly demonstrates how even numbers add tension and roughness.
Envelope Choices for Organic Pads
- Faster attacks than smooth pads
- Still avoid instant on/off
- Longer releases help pads blend invisibly
Pads often work best when they’re felt, not noticed. Their musical role is frequently about movement, tension, and atmosphere rather than melody.
Filtering and Effects
- Use a slightly steeper low-pass filter (e.g., 18 dB)
- Add reverb generously
- Apply EQ to trim excess low-end
- Use stereo imaging for width
While low frequencies may sound beautiful in solo, they often clash in a full mix — especially with bass instruments already present.
Blending Pads and Keys: The Drifting Hybrid Sound
Some sounds sit between pads and lead instruments.
A drifting keys-style patch combines:
- Clear tonal identity
- Soft pad-like behavior
The key control here is attack time:
- Short attack → more prominent, lead-like
- Long attack → subtle, supportive pad
This reinforces an important principle:
Almost any synth sound can become a pad with filtering and a long enough attack.
Creating Pads from Recorded Instruments
Pads don’t have to come from synths.
A simple recorded instrument — such as guitar — can become a powerful atmospheric layer.
Start with a Raw Recording
- Direct input
- No effects
- Clean performance
The raw sound may feel unimpressive, but it’s only the starting point.
Remove the Attack with Volume Shaping
The key transformation is eliminating the initial transient.
- Fade the sound in gradually
- Start playback slightly before the bar
- Allow the swell to define the sound
This removes string noise, pick attack, or hammer impact — leaving only tone.
Spatial Processing
Once the attack is gone:
- EQ the low end
- Apply stereo imaging for width
- Add reverb after the swell
Because the reverb is triggered by the swell rather than the attack, it feels smoother and more ambient.
The reverb breathes instead of splashing.
Experiment with Reverb Character
Different reverbs introduce different textures:
- Clean and spacious
- Dense and cinematic
- Dark and distant
Swapping reverbs can completely change the emotional impact without altering the source.
Beyond Guitar: Expanding the Concept
This technique extends far beyond guitar:
- Piano chords
- Arpeggiated synths
- Vocal chants
- Single sustained notes
As long as the attack is softened and the sound is immersed in space, the result becomes pad-like.
The Underlying Principle
Across all examples, the same idea applies:
- Start with a strong, full-bodied sound
- Remove sharp edges
- Filter excess brightness
- Add space and width
- Let time and movement do the work
The complexity of the final sound often hides a surprisingly simple process — one that rewards patience, subtlety, and careful listening.