
Crash Course on Synthesizing a Kick Drum From Scratch: Low-End Design
Designing a kick drum from scratch removes the need to endlessly scroll through sample packs and gives direct control over the low end of a track. Instead of adapting your mix to a pre-made sound, the kick is shaped to fit the track precisely—in pitch, envelope, punch, and character.
The goal here is a classic deep electronic punchy kick drum with flexible shaping options. One that can be short and tight, or long and boomy, while allowing precise control over pitch movement, attack, and harmonic content.
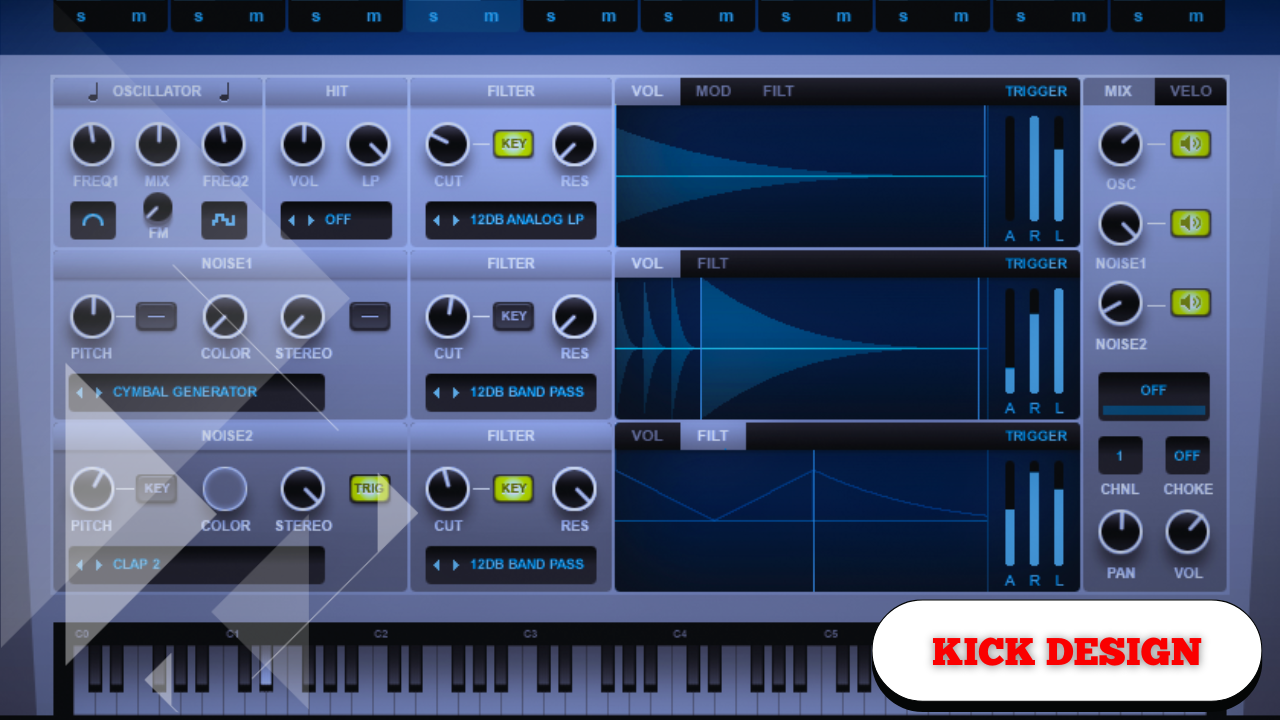
This process works on any synthesizer with similar functions, though the workflow described uses Serum as the reference instrument.
Core Setup and Global Configuration
Before designing the sound itself, it’s important to establish a clean and controlled foundation.
Initial Synth Configuration
Start by initializing the synthesizer and adjusting the global settings:
- Set oscillator quality to maximum
- Enable mono mode
- Ensure no voice overlap occurs
This prevents stacked kick hits and keeps the low end tight and consistent.
The kick drum should be focused, controlled, and intentional—no overlapping notes, no stereo spread.
Structural Overview of the Kick Drum
The kick drum is built in three distinct parts, each serving a specific role:
- The Sub – The low-frequency foundation
- The Body – Harmonics and perceived weight
- The Attack – The transient that defines impact
Each section is shaped independently but works together as a single coherent sound.
Designing the Main Sub Foundation
Oscillator Selection and Pitching
The sub begins with a pure sine wave, chosen for its clean low-frequency response.
- Select a sine wave oscillator
- Lower the pitch by two octaves
- Play a MIDI note to establish the fundamental tone
One major advantage of this approach is perfect tuning. The kick can be locked directly to the key of the track, ensuring harmonic compatibility with basslines and chords.
Tuning the kick drum to the song’s fundamental frequency anchors the entire low end.
Shaping the Kick Envelope
At this stage, the sound is a continuous sub tone. To turn it into a kick drum, it needs a defined shape.
ADSR Envelope Configuration
Use the primary amplitude envelope to create a percussive response:
- Hold: ~100 ms
- Decay: ~100 ms
- Sustain: -∞
- Release: minimal
This produces a tight, controlled hit. The hold and decay can be lengthened or shortened later depending on the track’s tempo and groove.
Creating Punch Through Pitch Modulation
A defining characteristic of electronic kick drums is a fast downward pitch sweep at the start.
Pitch Envelope Design
This is achieved using a second envelope assigned to oscillator pitch:
- Sustain set fully down
- Envelope shape resembles a triangle
- Envelope modulates coarse pitch
The pitch starts higher and quickly drops to the tuned note.
To avoid overshooting the pitch:
- Use a single-direction modulation
- Ensure the envelope only pulls pitch downward
- Fine-tune the depth and curve
This rapid pitch drop creates punch, impact, and perceived weight.
Subtle adjustments here drastically affect how aggressive or smooth the kick feels.
Refining Harmonics With Filtering
Low-Pass Filter Control
A low-pass filter is added and modulated using the same envelope:
- Filter quickly removes upper harmonics
- Mid frequencies are cleaned up
- High-end energy is tightly controlled
While holding a note, adjusting the cutoff allows precise control over how much midrange remains.
Filter Drive for Harmonic Enhancement
Reducing the master output and driving the filter introduces harmonic saturation:
- Adds thickness
- Increases perceived loudness
- Enhances body without harshness
Driving the filter introduces harmonic content that wasn’t present in the raw sine wave.
Managing Envelope Behavior in the Matrix
Both pitch and filter modulation should use:
- Single arrow modulation mode
This prevents unwanted fluctuations and ensures predictable envelope movement.
Consistency here is critical—especially in low-frequency design.
Adding a Controlled Attack Layer
Even with a strong sub and body, a kick still needs a defined transient.
Noise Oscillator for Attack
The noise oscillator provides a brief click at the start of the kick:
- Set noise to one-shot mode
- Route it through the same filter
- Choose a short attack-style noise
Only a small amount is needed—just enough to define the transient.
The attack doesn’t dominate the sound—it defines it.
If a synthesizer lacks a noise generator, a short click sample layered with the kick achieves a similar result.
Fitting the Kick Into the Track
With all components active, this is the stage where the kick is adjusted to sit properly in the mix.
Timing and Length Adjustments
Key parameters to tweak:
- Hold
- Decay
- MIDI note length
A longer MIDI note allows the decay to fully play out. Shortening or lengthening the envelope tail changes how the kick interacts with bass and rhythm elements.
The kick should support the groove—not fight it.
Pitch envelope depth can also be revisited to refine attack sharpness.
External Processing for Final Shaping
Rather than relying on internal effects, processing can be applied directly on the mixer channel.
Equalization for Balance and Clarity
EQ is used for simple, intentional adjustments:
- Boost low frequencies if more weight is needed
- Reduce 300–400 Hz to remove muddiness
- Boost high frequencies to enhance attack
Small, focused EQ moves go a long way.
Distortion and Overdrive for Character
Subtle distortion adds texture and presence:
- Light clipping
- Gentle saturation
- Harmonic grit
This prevents the kick from sounding overly smooth or lifeless in a dense mix.
A little distortion helps the kick cut through without overpowering the low end.
Transient Shaping for Impact Control
Transient processors provide fast control over attack:
- Reduce attack for smoother kicks
- Increase attack for sharper clicks
This is one of the quickest ways to reshape a kick without touching envelopes.
Compression for Weight and Consistency
Compression is used heavily and intentionally:
- Adds thickness
- Controls dynamics
- Enhances perceived loudness
Key considerations:
- Longer attack = more click
- Faster attack = smoother front edge
- Makeup gain restores energy
There are no fixed settings—compression responds differently depending on the kick design and mix context.
Monitoring and Translation
Kick drums must translate across systems:
- Headphones
- Studio monitors
- Consumer speakers
Designing solely on headphones can be misleading, so regular checks on speakers ensure low-end accuracy.
Key Design Principles to Remember
- Tune kicks to the song’s key
- Shape pitch for punch
- Use envelopes intentionally
- Balance attack, body, and sub
- Adjust length to match groove
- Process minimally but purposefully
The power of synthesis is control—every element is intentional and adjustable.